Tuesday, March 26, 2013

Did you know....

Did you know that you can regrow some vegetables after you chop off all the good stuff? I have been regrowing scallions in a glass of water for years with great success. All you have to do is put a bunch of scallions in a vase filled with just enough water to cover the white part of the scallions. Then just clip off the green as you need it and the scallion will just keep regrowing. Typically you can get a few weeks out of the scallions, before the white part starts to get mushy. One of my friends likes to plant her scallions in a pot with some soil and that should eliminate the eventual rotting of the scallions.

Keep your scallions growing

Recently, I found a site that showed lots of vegetables that could be regrown from their scraps and decided to try out another veggie. So, when I finished cutting off the green parts on a head of romaine lettuce, I placed the remaining part of the lettuce in a vase with a shallow layer of water. As you can see in the photo below, the leaves start growing from the center of the head after a couple weeks.

Regrowning romaine lettuce

This method can also be used to regrow celery. Just make sure to change the water every 3-4 days. Have you tried to regrow any vegetables? If so, what was your experience?

Sunday, March 17, 2013

Happy St. Patrick's Day!


Sunday, March 10, 2013

Pink Jasmine Treasury

My Jasmine Salt bars have been featured in an Etsy treasury. Check it out here and comment. If you are interested in picking up a jasmine salt bar you can get them at my Etsy store or website.


Friday, March 8, 2013

Cut pictures of my goat's milk and yogurt soaps

This first soap is my faux funnel pour lavender patchouli scented soap that I made with goat's milk. The colors were natural and pink. I wish the pink was darker so that the layers popped a bit more, but the soap still looks pretty.

Faux Funnel Lavender Patchouli Goat's Milk Soap
 
Faux Funnel Lavender Patchouli Goat's Milk Soap

This next soap was made with some homemade yogurt and scented with a honey fragrance. I did an in the pot swirl with some uncolored soap and some soap colored with a gold mica. If you look closely, you can see the gold sparkles, but again i wish the colors has more contrast so that the gold would be very obvious. I guess next time I need to add titanium dioxide to my "uncolored" soap portion so that the gold stands out more. This soap also looks like it had a partial gel (how do I know?--the dark circle in the center of the soap is a clear indication of partial gel). I tried to get this soap not to gel, but I guess I did not try hard enough. Next time, the soap will go outside if it is cold, or into the fridge.

Honey Scented Yogurt Soap

Honey Scented Yogurt Soap
All in all, I am pleased with how these two soaps look. If you want to give them a try, check back soon as they will be added to my website and Etsy store shortly!

Wednesday, March 6, 2013

Faux Funnel Pour Goats Milk Soap

After making the yogurt soap, I was inspired to make a Goat's milk soap since I had not made one in quite a while. I have always made my Goat's milk soap using powdered milk before, but this time I decided to try my hand at using liquid milk. Adding milk to soap helps to make it very creamy and gentle on sensitive skin. All milk contains natural emollients, vitamins and triglycerides that help balance the skin’s natural pH and moisturize the skin. I scented this soap with a mix of Lavender essential oil and Patchouli essential oil and decided to try a new (to me) pouring technique. I was going for a faux funnel pour design.

The first step was to get my ingredients all ready to go. I like to weigh out my fragrance in this nice stainless steel milk frothing cup (see below) before I start mixing my oils and lye. This makes it much harder for me to forget to add the fragrance. The stainless steel cup works great because it does not hold onto the scent like plastic often will.

Fragrance oil and my soap recipe are all ready to go.

The next step is to lightly mix my oils and lye to a light trace.

Mixing the soap to a light trace

I then split the soap into two containers so that I could color one half of the soap pink.

One part of the soap batch was colored pink.

Once both of the containers of soap were at a medium trace I started pour them into the mold. To get the faux funnel swirl design, I poured a bit of the white soap into the center of the mold, and then pour some of the pink over it in the center of the mold. I repeated this process until all of the soap was in the mold.

Poured in layers of cream then pink.


My layers ended up being pretty thin, so I think that in the future it might be better to only do about 10 pours (5 for each color) so the layers end up thicker.

Cut pictures of this soap and the yogurt soap to come in the next day or two!

Friday, March 1, 2013

Making super creamy soap using yogurt

I recently blogged about making Greek yogurt in a crock pot (see it here) and decided to use some of the yogurt I made in a batch of soap. I still had a ton of yogurt left over and knew there was no way Dylan and I could eat it quick enough (note to self--1 gallon of milk is WAY too much!). So into the soap it went.

I prepare my lye in batch form and keep a stock of it prepared at a ratio of 1 part lye to 1.5 parts water. When I go to make soap I always have to add a bit of water to get to the correct percentage of lye. For this soap, instead of adding the extra water, I replaced it with the yogurt and mixed it directly into the warm oils instead of into the lye. When you do this, make sure to whisk the yogurt into the oils well. Next, I added the lye solution to the oils and yogurt and mixed with a stick blender until a light trace was reached. I then split the soap into two containers and colored one container of soap gold (see picture below).

Uncolored soap on left and gold mica colored soap on right.

I poured the gold soap back into the container with the cream colored soap and did a slight in the pot swirl. The soap was then poured into the mold and the top was sprinkled with gold glitter.

Setting up an in the pot swirl

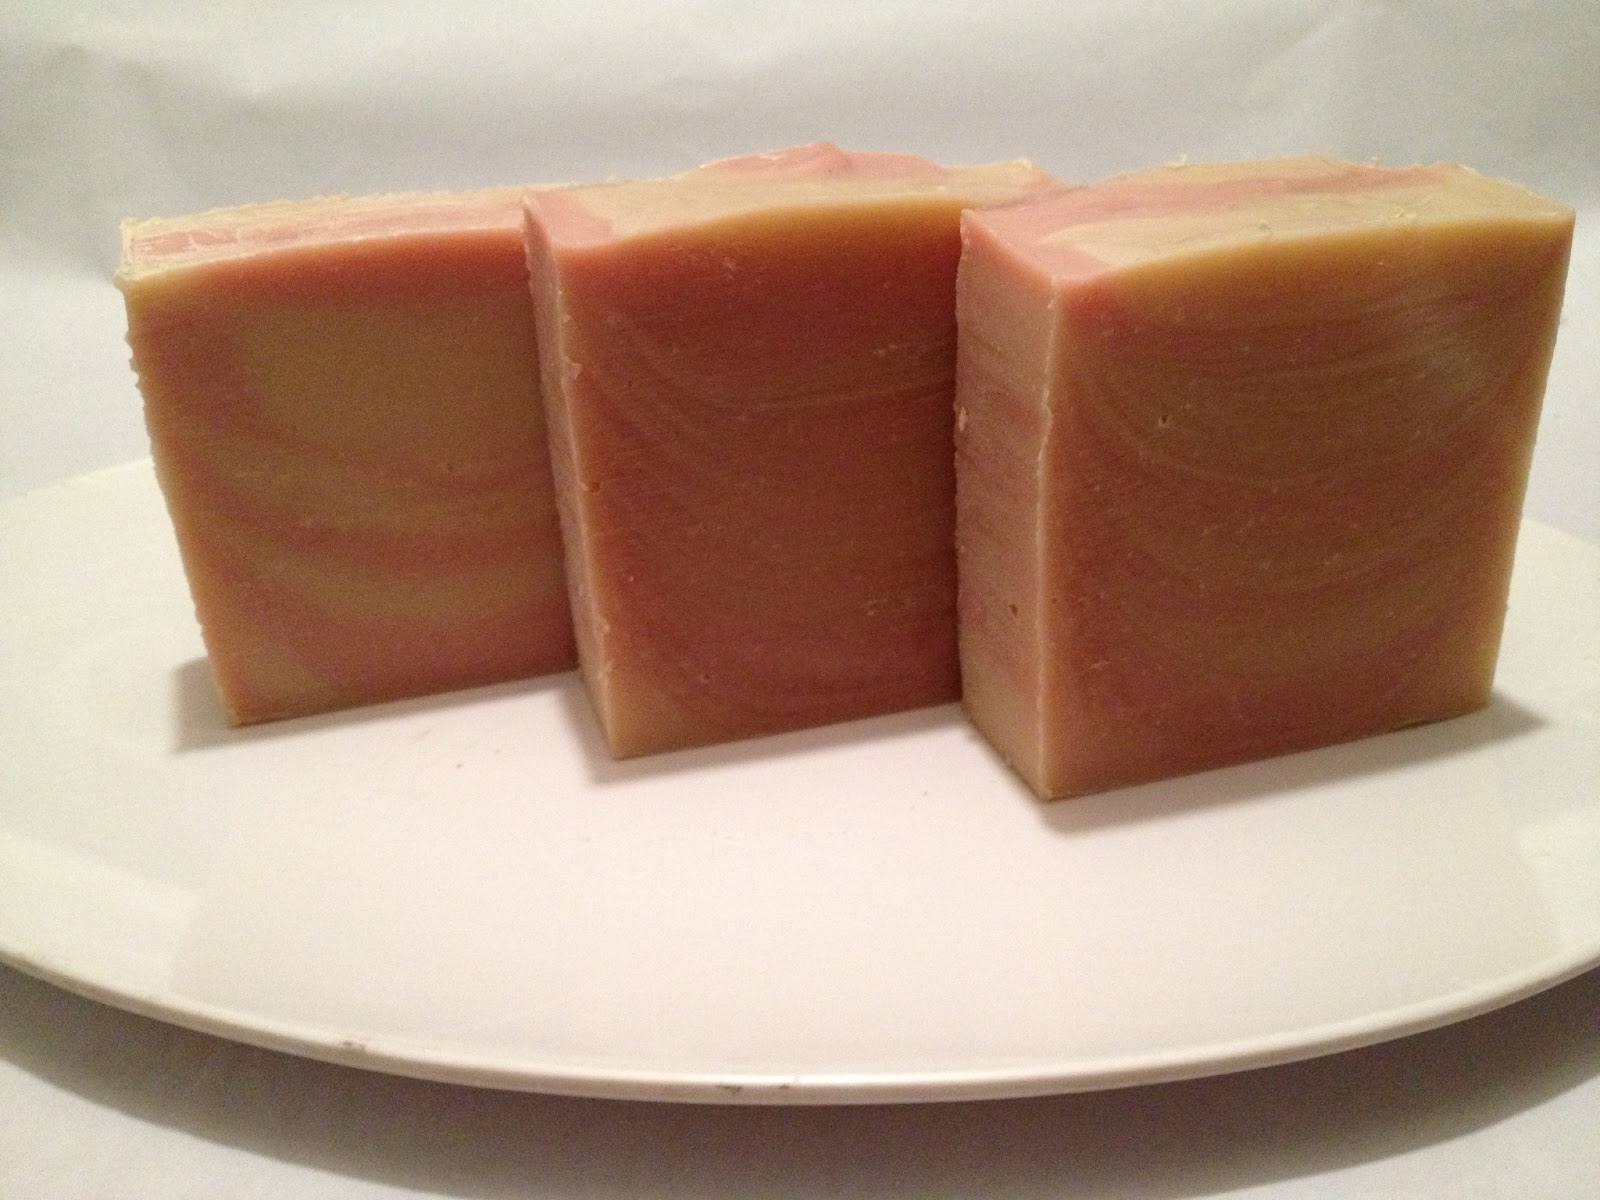
The gold did not end up being very obvious and it would be better in the future to use a more contrasting color so that it stands out more from the cream colored soap. Since this soap is made with yogurt, I did not place it in the oven overnight to do CPOP, instead after I poured it into the mold I covered it with a silicone sheet and placed a towel on top. This was allowed to sit at room temperature overnight. I am still waiting for the soap to harden up a bit more so that I can get it out of the mold. I normally do a heavy water discount when making soap, but this time I used the full amount of water. So now I must wait for some of that to evaporate before I can slice the soap and see if any of my swirls are noticeable.

If you are interested in the silicone loaf soap mold, you can pick one up on Amazon. *Please note that this is an affiliate link. That means that I get a small payment from Amazon if you buy from this link at no additional cost to you.
Soap poured and setting up.